
How to Embroider by Hand: Setup, Floss and Your First Stitches
NeedleAndHoop is reader-supported. If you buy through our links we may earn a commission at no extra cost to you. As an Amazon Associate we earn from qualifying purchases. Disclosure.
Hand embroidery needs very little gear and only a handful of stitches to make something you'd hang on a wall. Here's the setup and three starter stitches, following DMC, which has made six-strand floss since 1898.
What you need
- Fabric with a design (pre-printed, or traced)
- Six-strand embroidery floss
- Embroidery needles
- An embroidery hoop
- Small sharp scissors
A kit bundles all of this. See our beginner kit guide.
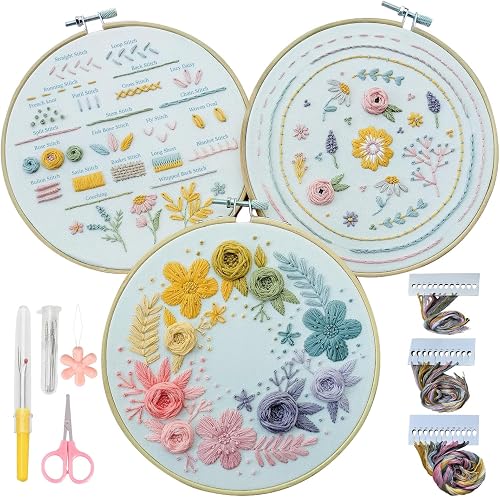
ChicTouches Embroidery Kit, 22 Stitches
- 3 patterned fabrics teaching 22 stitches in three levels, per the listing
- 3 bamboo hoops, 6 needles, threads, scissors and a needle threader
- Instructions and videos for each stitch
Step 1: Hoop the fabric
Loosen the screw, put the inner ring under the fabric and the outer ring over it, and tighten. DMC says it should sound like a drum when tapped. It also says not to leave work in the hoop for a long time, since that can leave creases that are hard to remove. More in our hoop guide.
Step 2: Prepare the floss
- Cut a length of no more than about 18 inches (50 cm), or fingertip to elbow, per DMC. DMC suggests cutting it at a 45 degree angle with sharp scissors.
- Separate the strands. DMC says floss is designed to be separated, and you won't usually stitch with all six. Tap the end, pull one strand straight up, and repeat.
- Recombine the number of strands your pattern calls for. DMC says using different numbers of strands changes the look.
Step 3: Three starter stitches
Back stitch
DMC calls it an essential flat stitch that gives a continuous solid line, very useful for outlines. Bring the needle up, leave a gap the same length as your stitch, come up again, then work back toward the previous stitch and go down at its end. Repeat along the line.
Chain stitch
A line of interlocking loops that DMC says works for outlines, borders and filling shapes. Each new loop catches the one before it. Finish by securing the last chain with a small holding stitch.
French knot
Bring the needle up, wrap the thread around the needle close to the fabric once or twice (more wraps make a bigger knot), then go back down very close to, but not in, the hole you came up through. DMC says to keep the thread taut as you pull through.
Tension
DMC says loose stitches look limp and stitches pulled too tight pucker the fabric. A drum-tight hoop makes even tension easier.
Next steps
DMC's stitch diagrams also cover satin, split and stem stitch. Want to pick your own colors? See our floss guide.
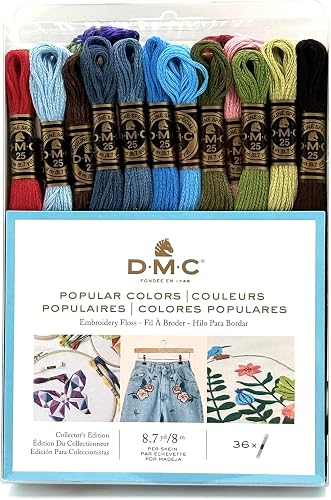
DMC Embroidery Floss, Popular Colors (36 Skeins)
- 36 skeins, one each of 36 colors, per the listing
- 8.7 yards of divisible 6-strand thread per skein
- Double mercerized; listed as colorfast
FAQ
Easiest first stitch?
Back stitch, for outlines.
How do I make a French knot?
Wrap once or twice, go down right beside where you came up, keep it taut.
How many strands?
Whatever your pattern says. Usually not all six.